
The pillow remix continues. Here is another piece that is transforming the living room.
MATERIALS:
Freezer Paper
Solid Color Fabric
Patterned Fabric
Thread
Fiber Fill (or any material to stuff your pillow)
Craft Knife
Pencil
Iron
Paint
Paintbrush
Sewing Pins
Needle/Sewing Machine
Scissors
STEP 1: Draw
Sketch a silhouette onto your freezer paper. Be sure to sketch your image on the matte side of the paper. I loved this pillow from Urban Outfitters and clearly used it to hand draw my own owl. I put exes on the parts of my drawing that I knew I would be ironing onto my fabric.
STEP 2: Cut
Use a craft knife to cut out your image. My favorite craft knife is the Fiskars Fingertip Craft Knife. It gives you complete control. If you are careful as you cut you will end up with two sets of freezer paper stencils you can use for two different projects. Be sure to cut on a surface that will not be damaged by the knife.

STEP 3: Iron
Place your pieces carefully on your fabric on an ironing surface with the shiny side of the paper facing down. If your image is like mine, you will have more than one piece of freezer paper in your stencil. Once everything is laid out, iron on your image. Be sure that your iron is making direct content only with the matte side of the freezer paper.


STEP 4: Paint
Using whatever color you choose, paint the entire area of the stencil. I mixed a couple colors to create the gray that I wanted. Minimize your brushstrokes as to not dislodge the freezer paper. Let the paint dry.


STEP 5: Peel
Slowly peel off the freezer paper. It doesn't matter if it rips, these stencils can only be used once.


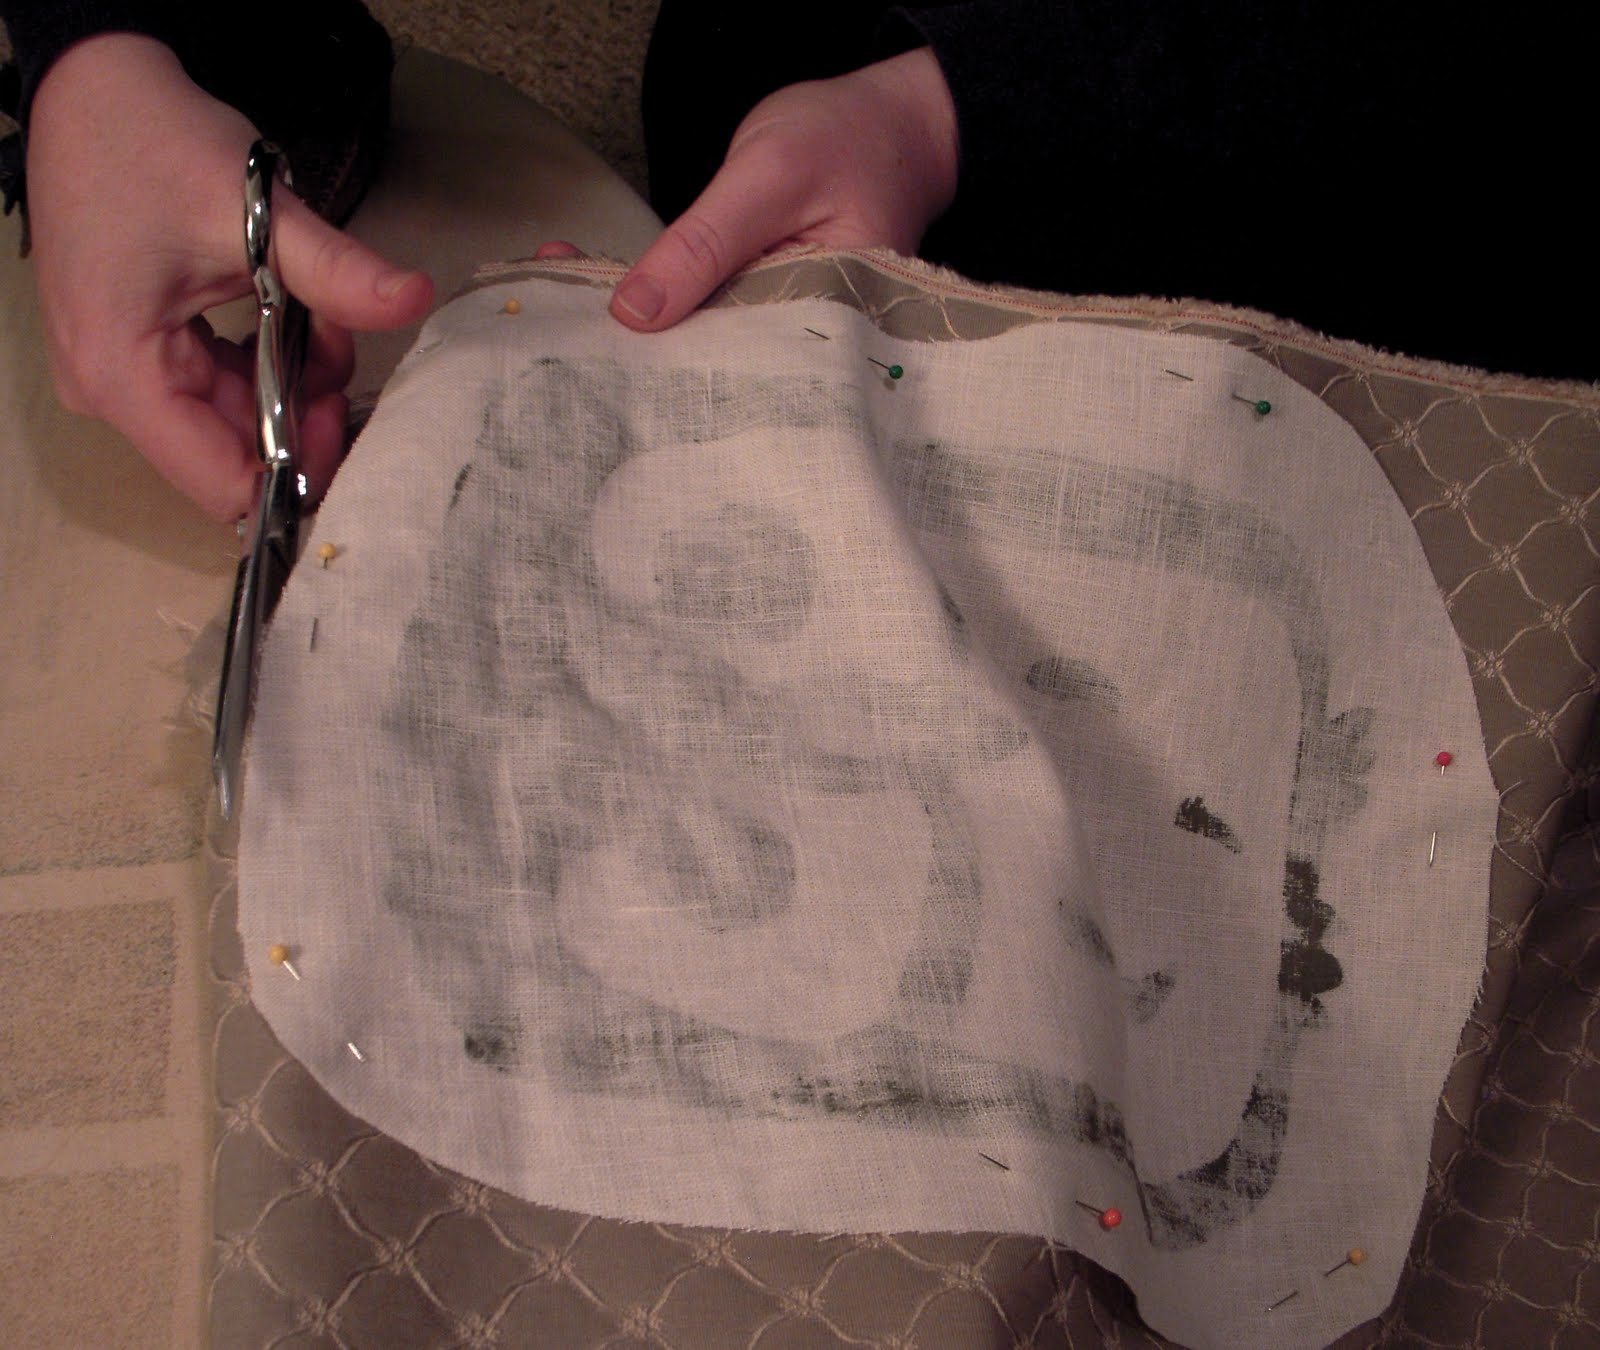
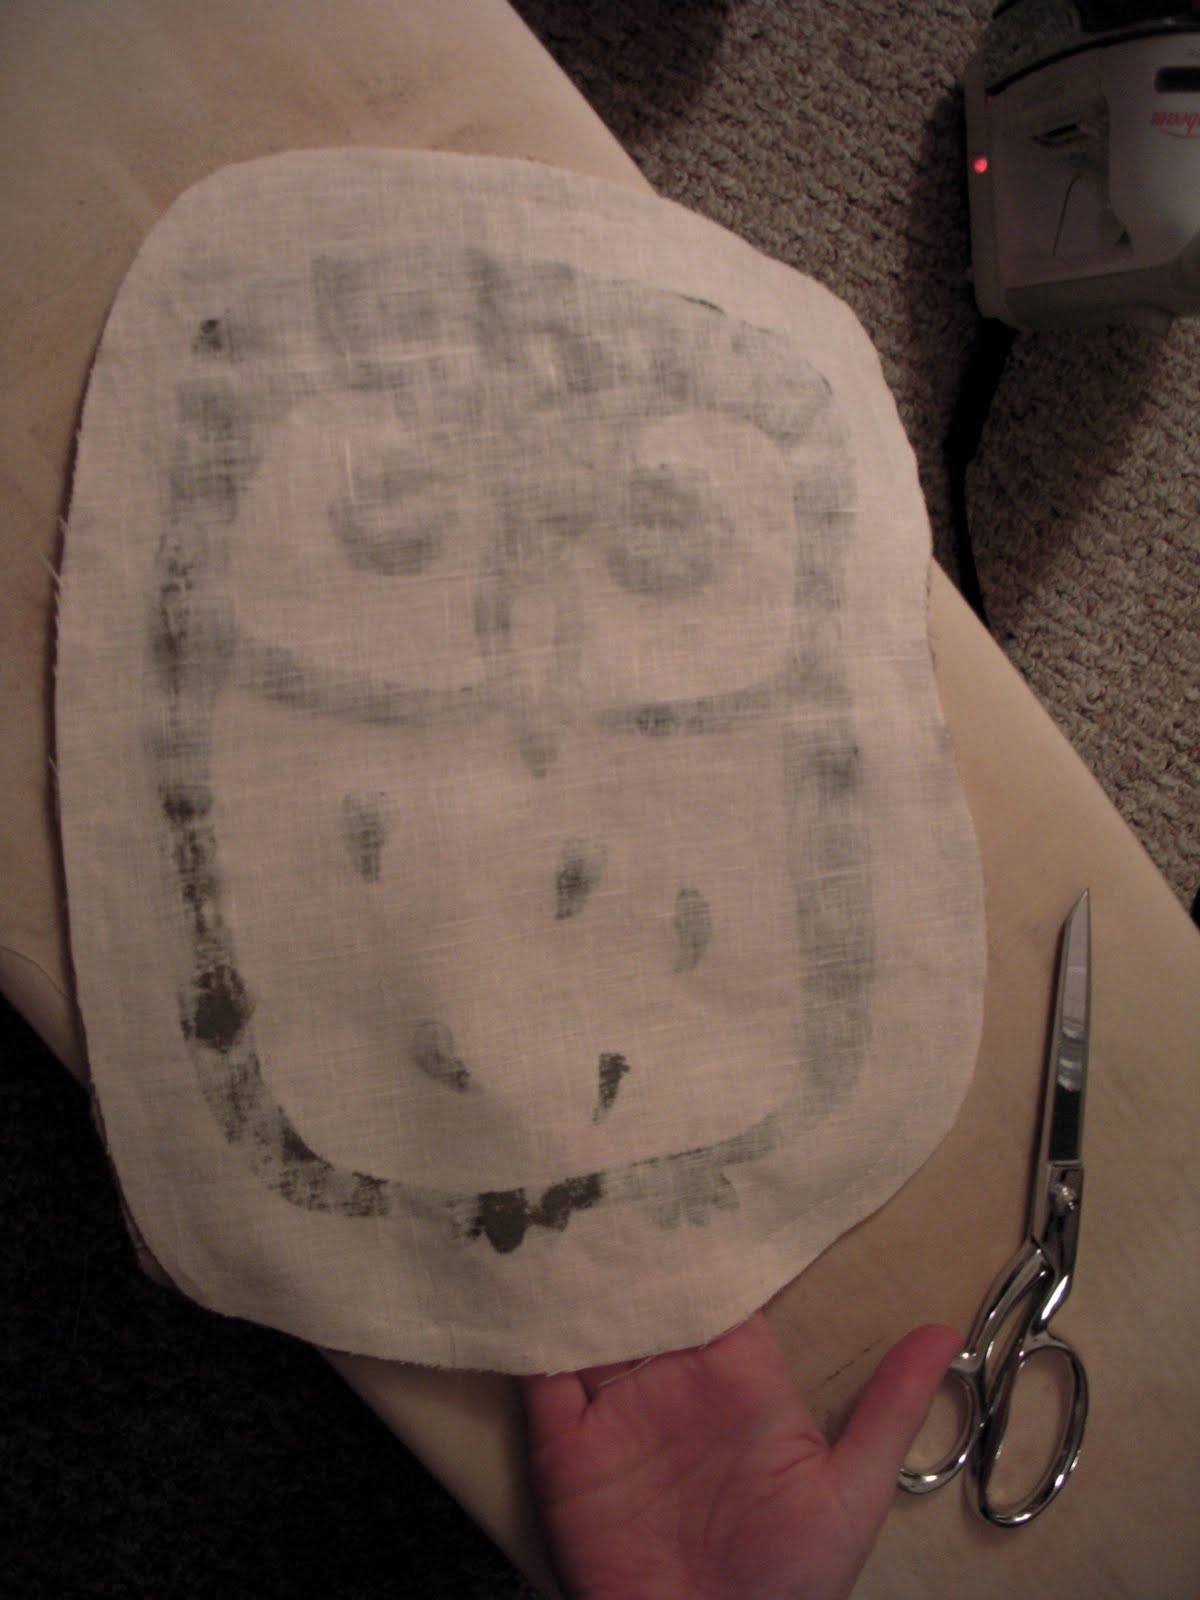
STEP 6: Cut Fabric
Now that you have your image, cut out the shape you want your pillow to be. Be sure to leave an additional 0.25 inch seam allowance around the edge. Pin your painted fabric to the backing fabric with right sides together and cut. This should result in two pieces of fabric that are mirror images of each other.


STEP 7: Sew
With right sides together, sew around the edge of your pillow. Leave a 2-3 inch opening so that you can turn it right-side out. I use pins to mark where to start sewing and where to stop sewing.
STEP 8: Reverse and Stuff
Turn your pillow right-side out and stuff with your pillow filling.

STEP 9: Close it up!
Pin and stitch your pillow closed. Throw it on a couch, chair, or bed to add a little homemade pizazz to your humble abode!


Happy sewing!
That pillow is so amazingly adorable!
ReplyDeleteCheers,
Bre
so. sweet. would look equally awesome in a kids room!
ReplyDelete